How to Make an Embroidered Christmas Linen Flour-Sack Tea Towel (Free Embroidery pattern)
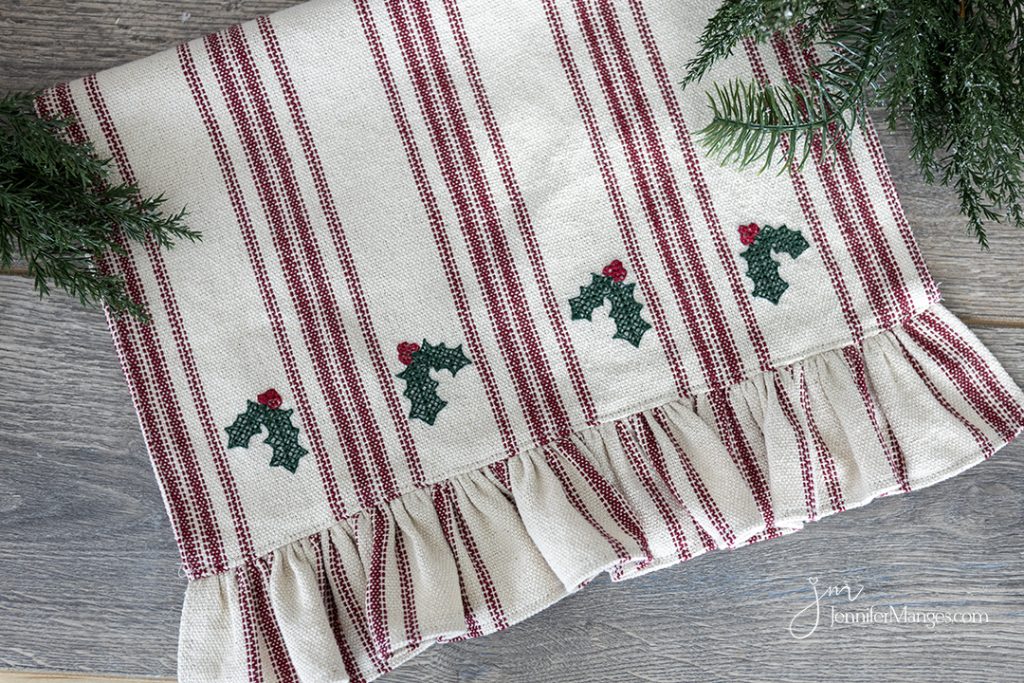
I recently bought some flour sack linen, and I love it! I wanted to create something for Christmas that I could embroider on, so I decided to make a tea towel. Here’s how I did it, and how you can do it too!
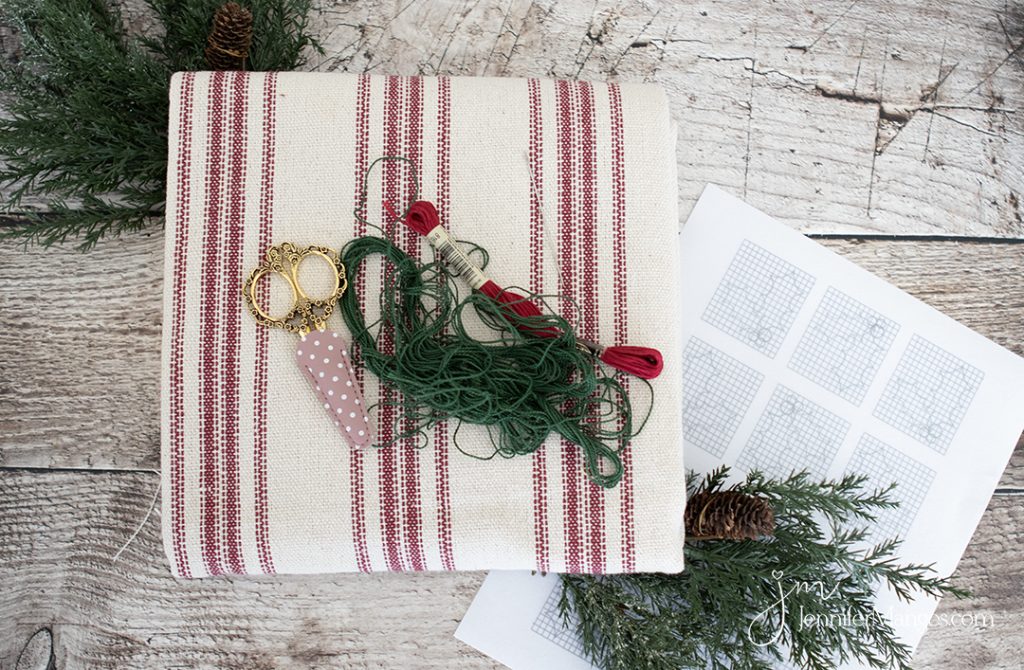
First, I created a cross stitch pattern in Illustrator (and you can see that on the right of the image above). I printed it on embroidery transfer paper so I could transfer the design to the fabric. You can download a free copy here and transfer it however works best for you.
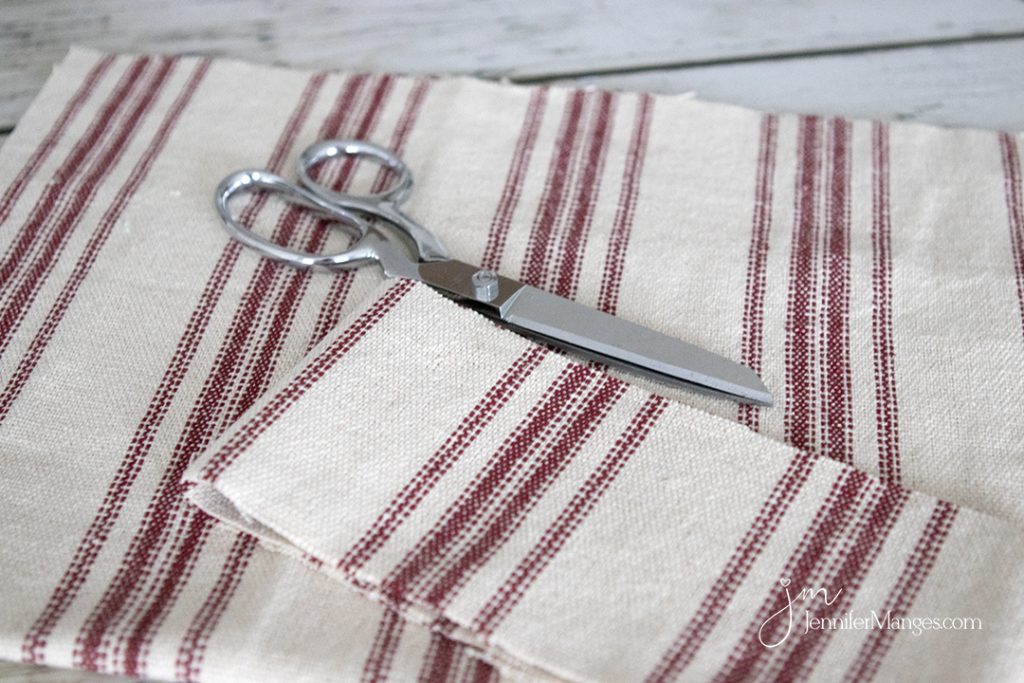
Non-reversible tea towel Instructions:
Cut the fabric for the towel to 16.5″ wide by 23″ long.
Cut the ruffle 4″ tall by 40″ wide.
Finish the seams along the sides and bottom of the ruffle, and along the sides and top of the tea towel by folding the fabric 1/2″ and pressing it with an iron . Serge the edges to 1/4″, or fold your edges to 1/2″ and press, then fold the raw edge in toward the pressed mark so the raw edge is encased in the seam (seems will be 1/4″ finished), pin.
After serging (or finishing) the edges, top stitch them on the front to secure the seams.
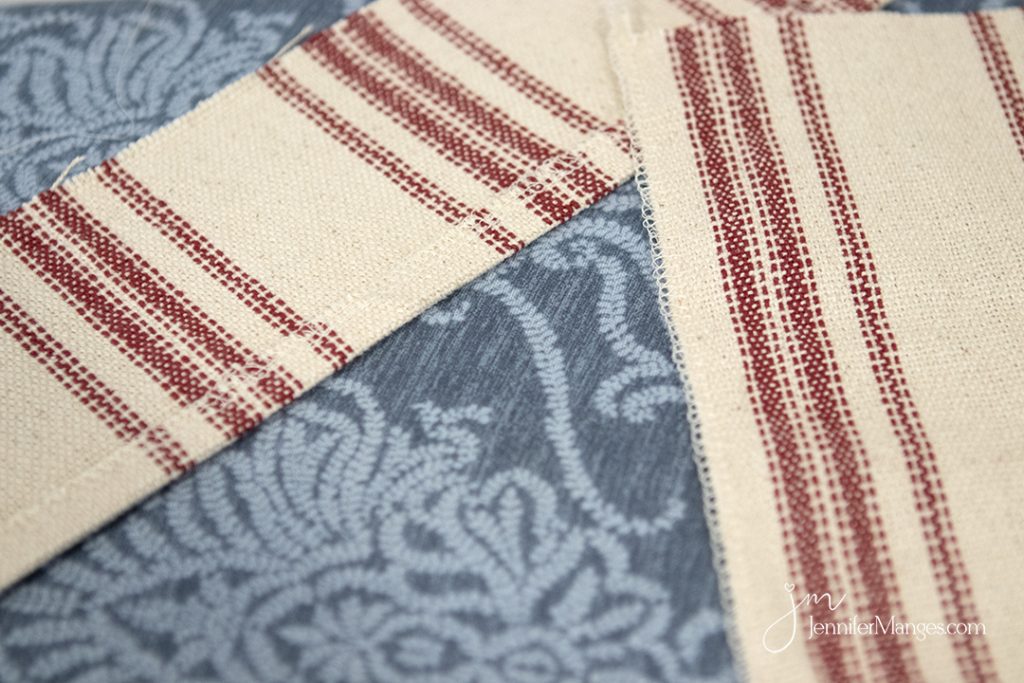
Next, along the raw edge of the ruffle, sew two basting stitches 1/4″ apart so you can pull your fabric into gathers.
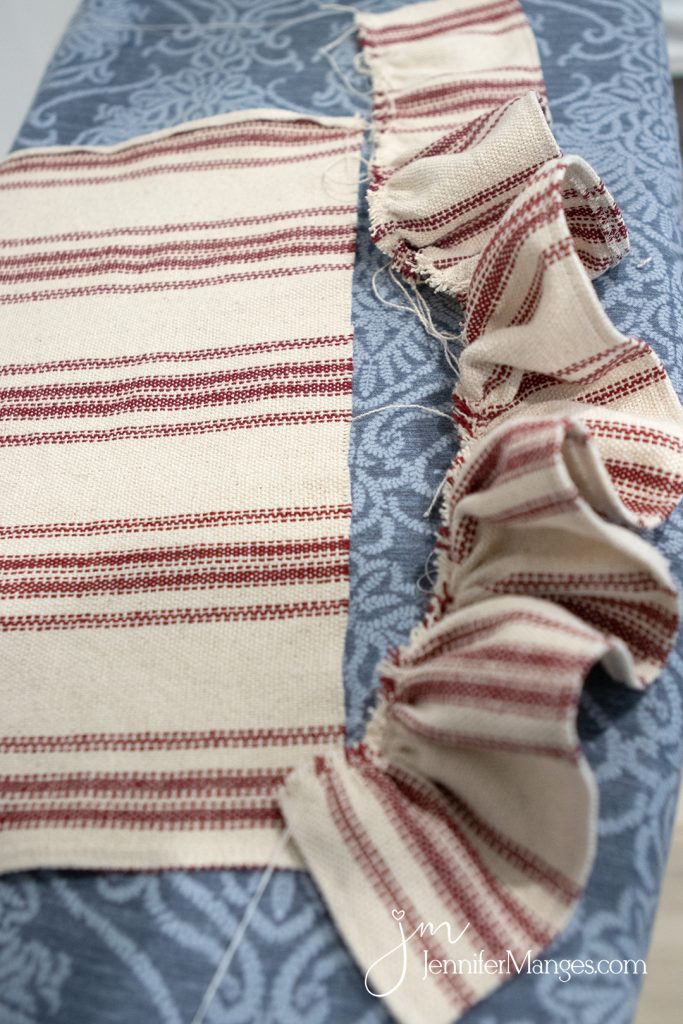
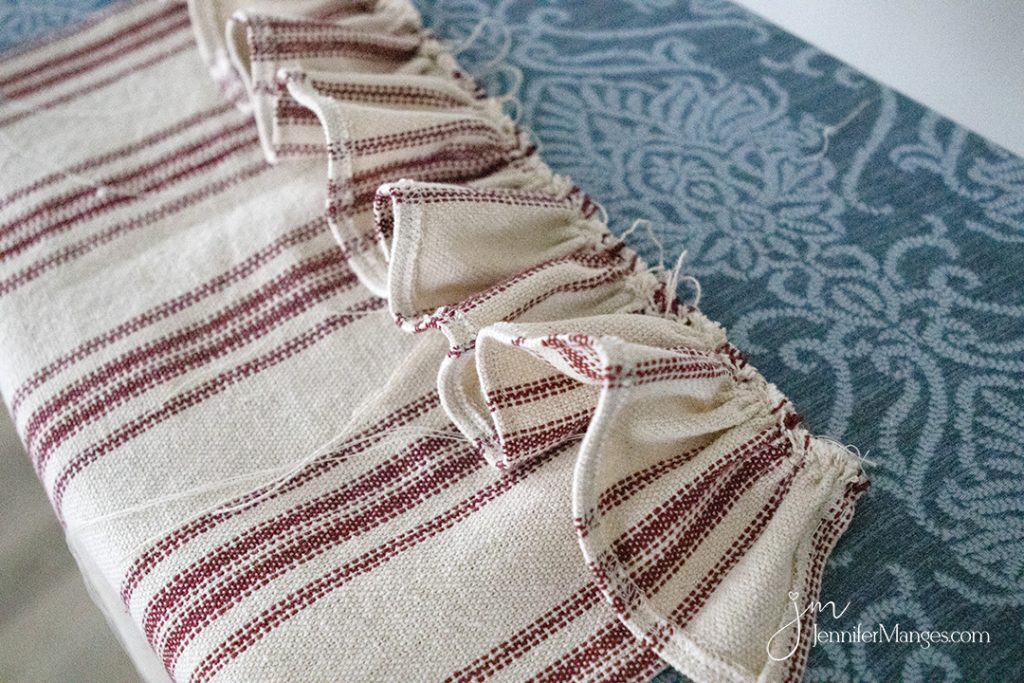
After gathering, pin the gathered ruffle to the raw bottom edge of the tea towel and sew. Serge or finish the edge with a zig zag stitch. Then top stitch the seam down just above the ruffle on the front side.
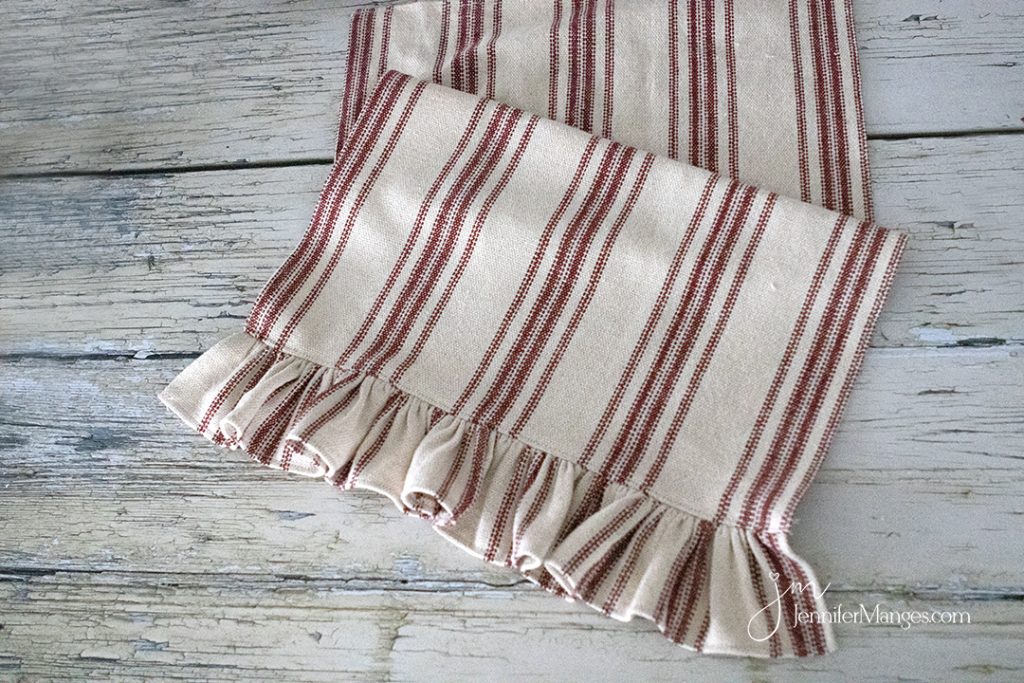
Prepare your embroidery supplies.
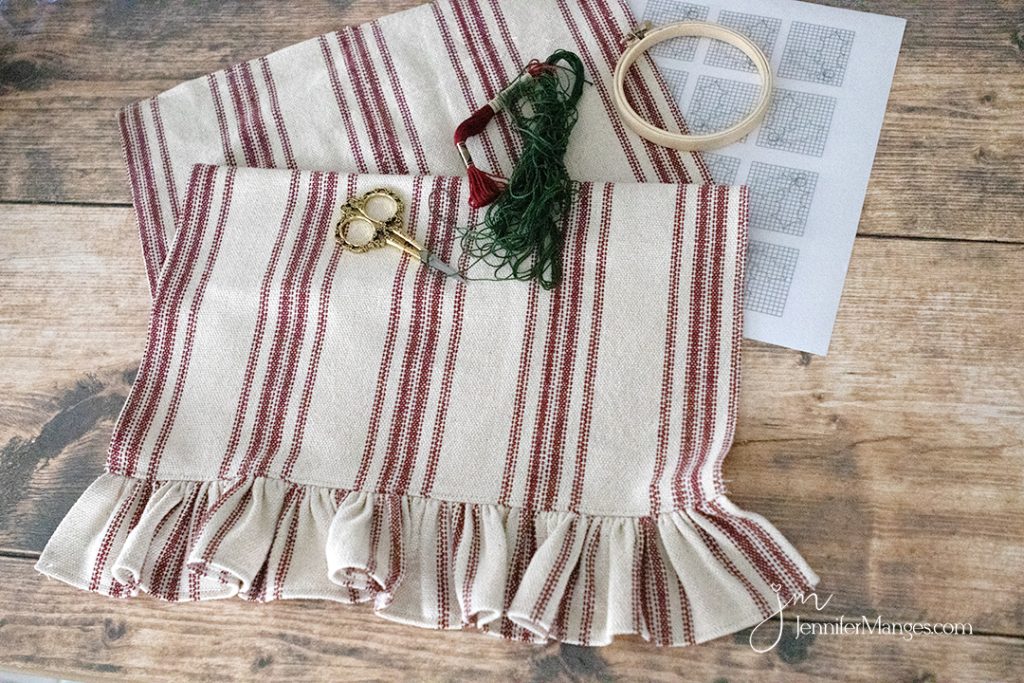
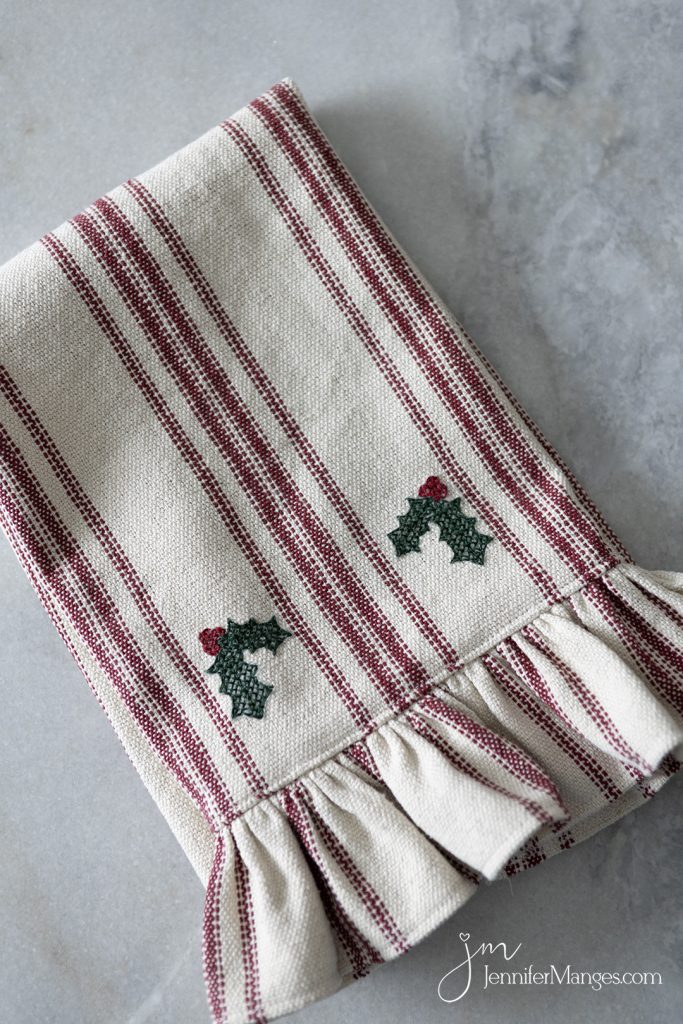
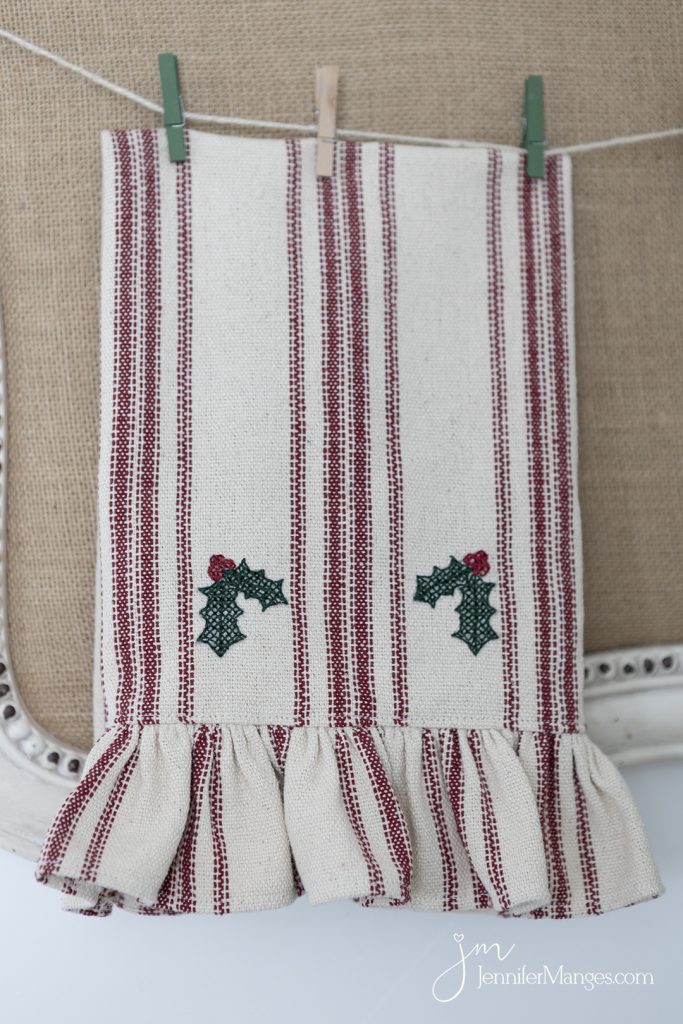
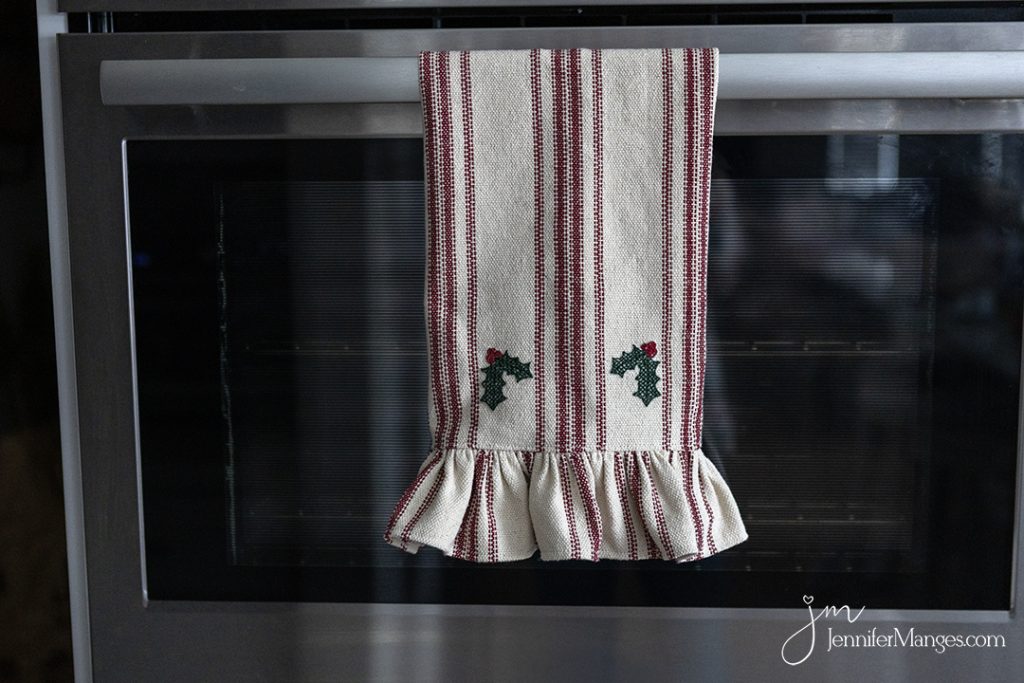
Position your transfers and stitch away. I did cross-stitch for sake of time. You could do your favorite embroidery stitches instead. It’s your creation, so do what your heart says! I failed to take photos of the actual stitching process! But here is the finished item.







Join the List
Stay up to date & receive the latest posts in your inbox.